
 You can find the information about starting seeds from scratch by visiting our page, “Start Non-GMO Veggies from Seeds.” Once you have determined what you are going to grow, and have decided whether to seed your plants directly into your containers or start seedlings and then transfer them, it’s time to do the seeding with your concrete learner.
Seeding into Containers
In order to achieve evenly-spaced plants when seeding directly into containers, the best strategy is for you and your learner to poke holes with your fingers in a pattern in the soil that are spaced far enough apart according to the instructions that come with your seeds or through other informational sources for the seedlings to develop without being crowded. Try to maximize the available space in your self-watering bucket containers for as many holes as you can reasonably fit.
Place 3-4 small seeds, such as carrots or lettuce, in each hole and cover them with soil by moving the soil along the top of the container with the sides of your hands. If planting larger seeds, such as squash or beans, you may opt to only place one seed per hole. Look to the planting instructions for your seeds as to how deep each planting hole should be.
The purpose of planting more than one small seed in a hole and many holes of one seed each with larger seeds, is to increase your odds of producing viable plants. Chances are, most of the seeds will sprout, including those planted in the same hole, which will mean plucking out extra sprouts to leave one survivor growing in each spot. Depending on the types of plants you are growing, the plucked sprouts can be cleaned and added to salads and sandwiches. Beets, radishes, pea shoots, lettuce, cabbage, broccoli, cauliflower, and many other vegetable plants are perfectly edible and tasty as sprouts.
Plucking these extra sprouts as they come up is called “thinning” your plants. You will need to thin your plants started with small seeds with more than one seed to a hole. With the plants started from larger seeds with only one per planting hole, you may not need to do much or any thinning, depending on how far apart you spaced your seeds when you planted them. Since the majority will likely sprout, you don’t need to crowd your growing space and then thin it out in order to grow enough plants to fill your container; that would just be a waste of seeds. However, if you want to produce more sprouts than you’ll need in order to have sprouts to eat and/or so you have more plants to choose from when picking which are the most viable-looking to grow to maturity, then it’s not a waste to seed your larger stuff closer together.
Have your learner help you poke the holes in the proper patterns in the tops of the soil, place seeds in each hole, and cover them up. Given that you are seeding directly into the soil and there are not yet roots present to help create the draw of the wicking action of the self-watering process all the way to the shallow area just below the surface of the soil, you may need to water the seeds lightly from the top every day for the first week or two until they sprout, at which point they will have established roots that reach into the damper, lower regions of the soil and have started to help pull water up higher into the soil.
If the soil is moist at the bottom of the planting holes when you and your learner poke them in with your fingers, then you do not need to water your seeds from the top daily, if at all. You may choose to do so twice a week for the first two weeks just to give them a boost to get started.
Starting Seeds in Seedling Pellets
Following the instructions on our page, “Start Non-GMO Veggies from Seeds,” work with your learner to soak seedling starter pellets in water. You may choose to have your learner watch over them and let you know when they’ve expanded while you go prepare the other materials.
Once the pellets have expanded, gently squeeze out the excess water leaving them damp but not dripping. Place them in front of your learner on a flat work surface along with the seeds to be placed in each. Work with your learner to place 3-4 small seeds or 1 large seed in the tops of each seedling starter pellet according to the number of plants you need to start in order to fill your containers.
Have your learner place each seeded pellet into a paper cup. With a permanent marker, write or have your learner write the names of each respective type of plant on the cups in which the seeded pellets have been placed (so, write “tomato” on a cup containing a pellet seeded with tomato seeds, for example). Then have your learner cover the cups with plastic baggies and set them in a warm, sunny window sill or other sunny location where they will not be knocked over or damaged.
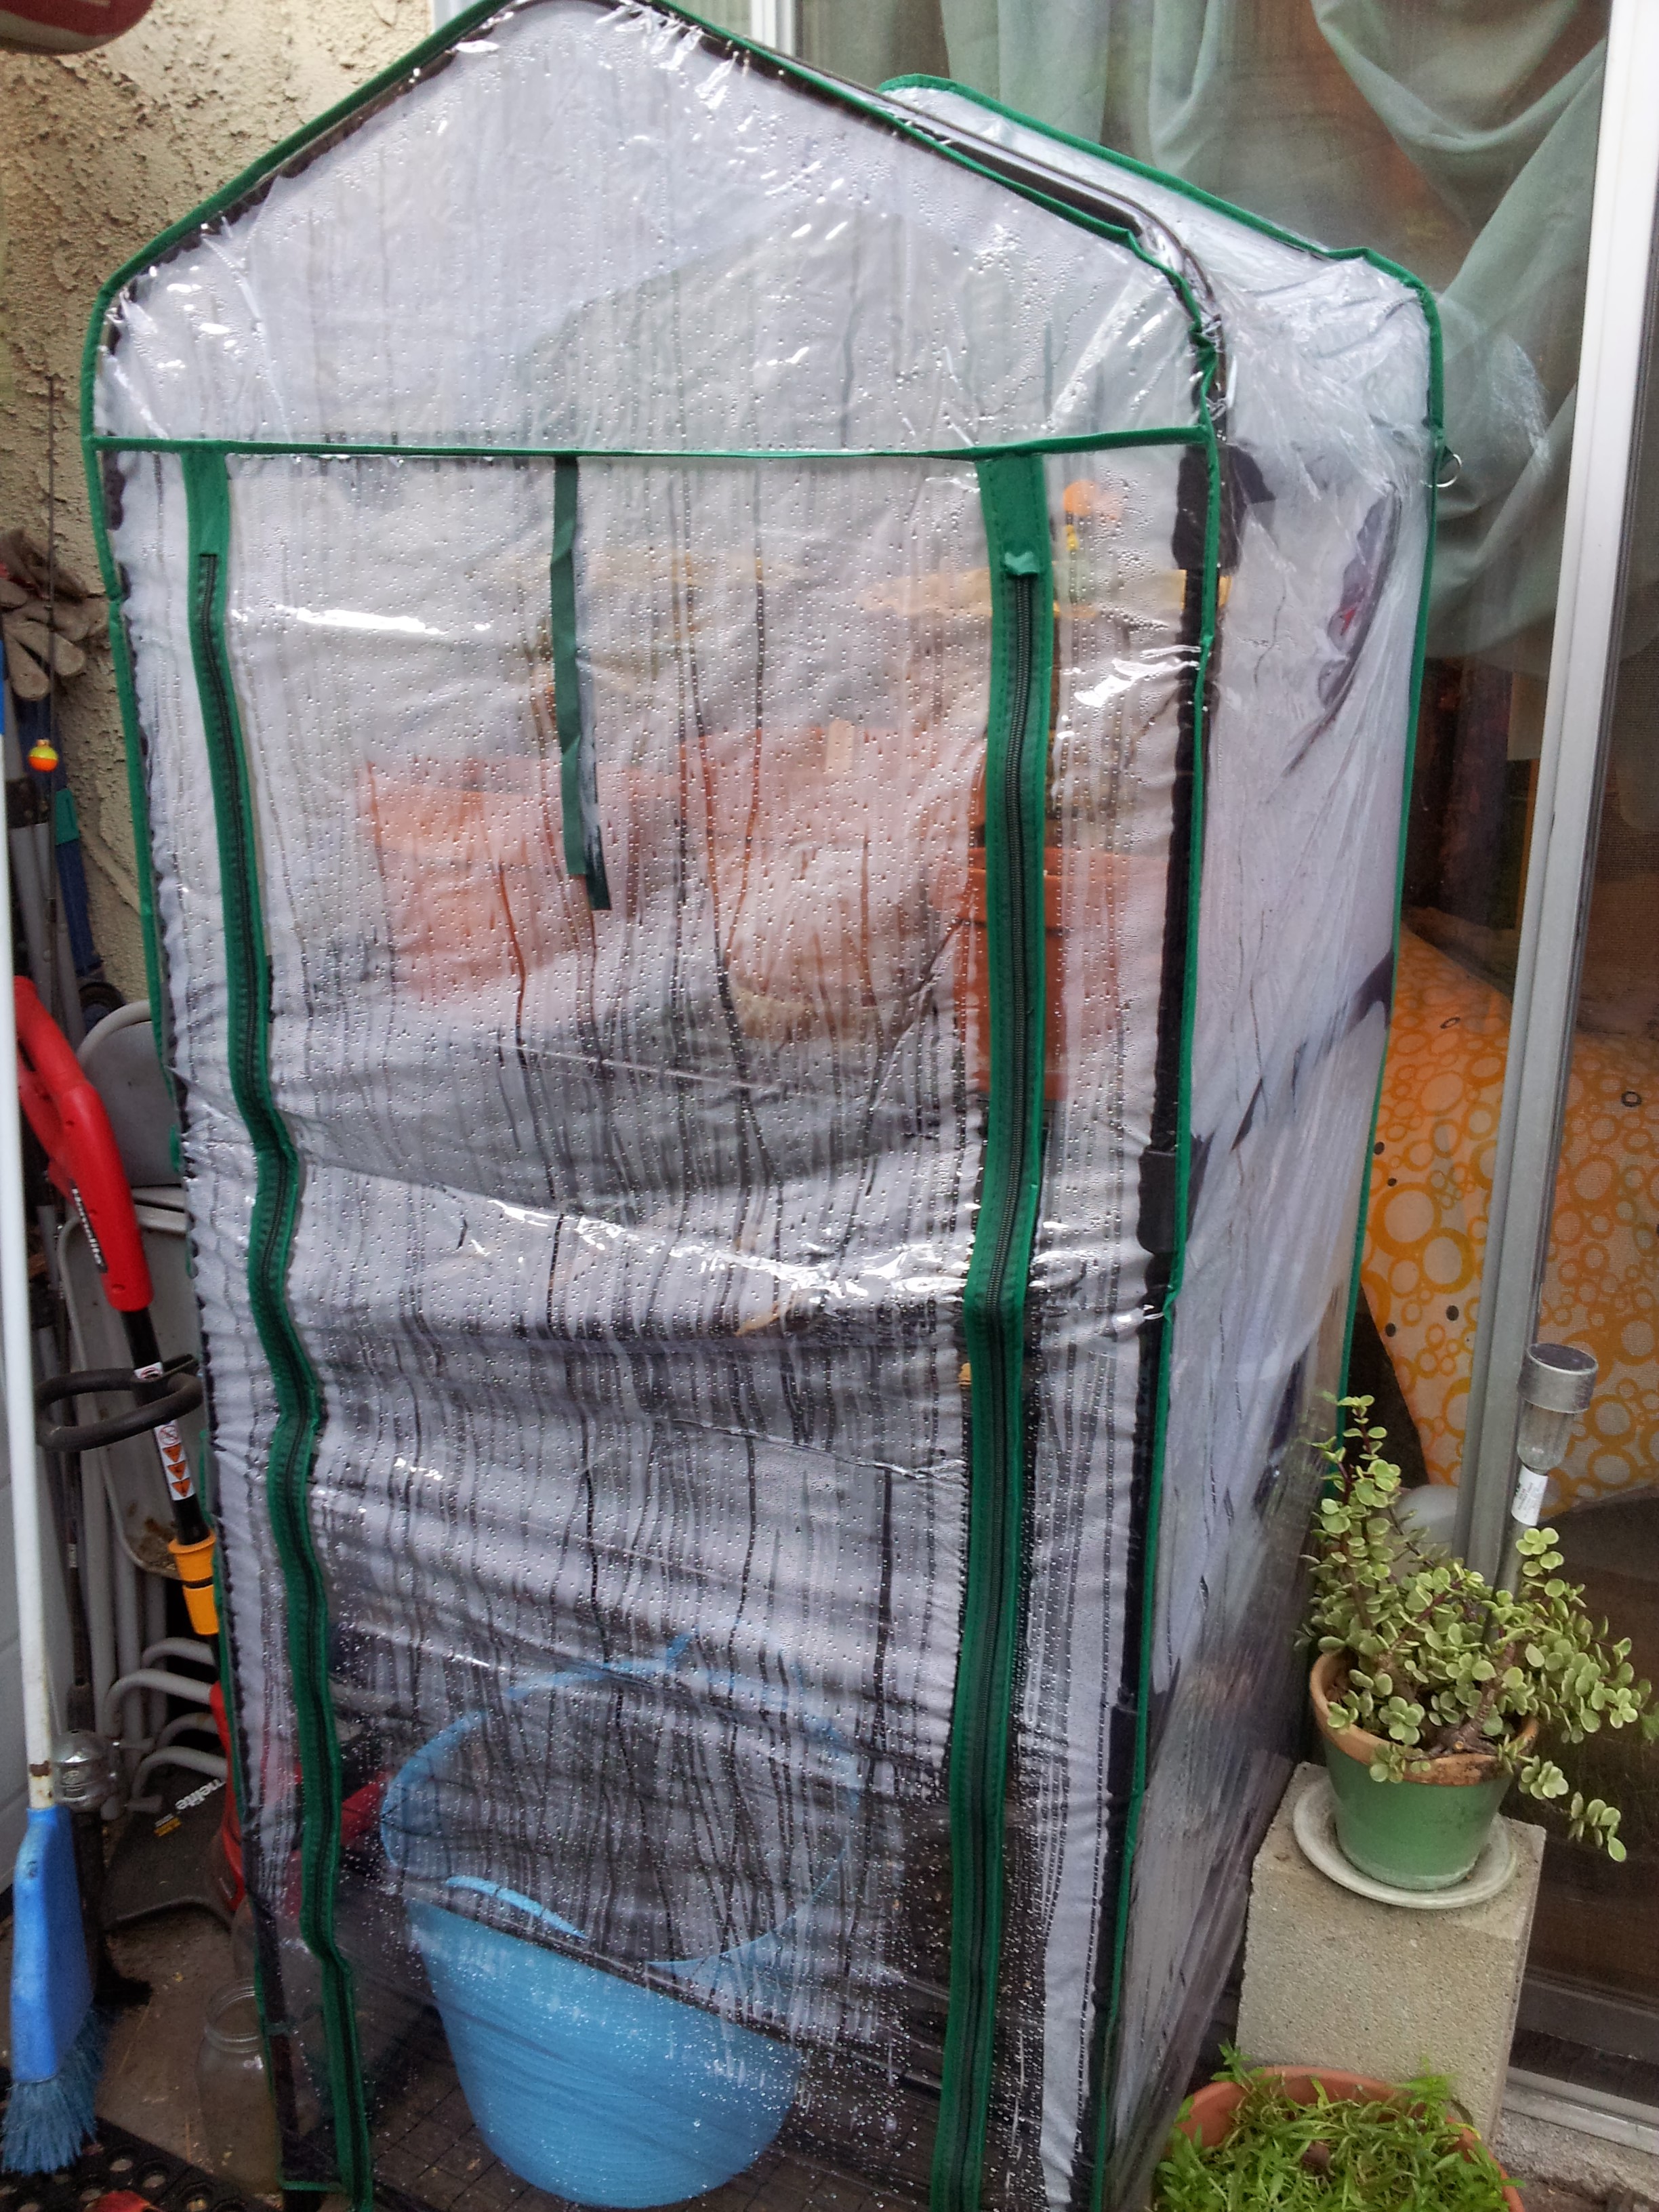 In the alternate, if you have a greenhouse or greenhouse-like structure, you can place the cups inside it without the need for plastic baggies. You can also purchase trays with clear plastic lids for holding seedling pellets that you can set in a sunny spot by themselves or use uncovered in a greenhouse or greenhouse-like structure.
Each packet of seeds should include the estimated germinate time for each type of plant you are starting. Many plants sprout within 7 to 10 days. Generally speaking, most things sprout within a week or two, though some plants can take 4 to 6 weeks.
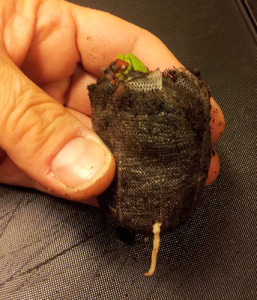
Using the stated germination rates for each of your seeds, watch with your learner your seedlings each day to see when the sprouts start coming in. Without damaging the sprout, remove the seedling pellet from its container and show the sprout to your learner up close. Using a toothpick, gently pull any soil from the pellet off the top of the sprouted seed just enough so that your learner can see the sprout coming out of the seed that was planted. Gently cover it back up with the soil and return it to its container.
Over the next two weeks, watch the seedlings with your learner as they get bigger. In pellets where more than one sprout has appeared, thin them out by plucking out all but the strongest-looking sprout. As described above, depending on the types of plants you’ve sprouted, you may be able to eat the sprouts you’ve plucked.
Generally speaking, once the seedlings stand at least six inches tall, you and your learner can transfer them to your containers safely. If their roots begin to exceed the capacity of the starter pellet before their tops are very tall, transfer them to biodegradable planter cups with a bit of soil to hold them over until they are big enough to move to your containers.