Building Containers
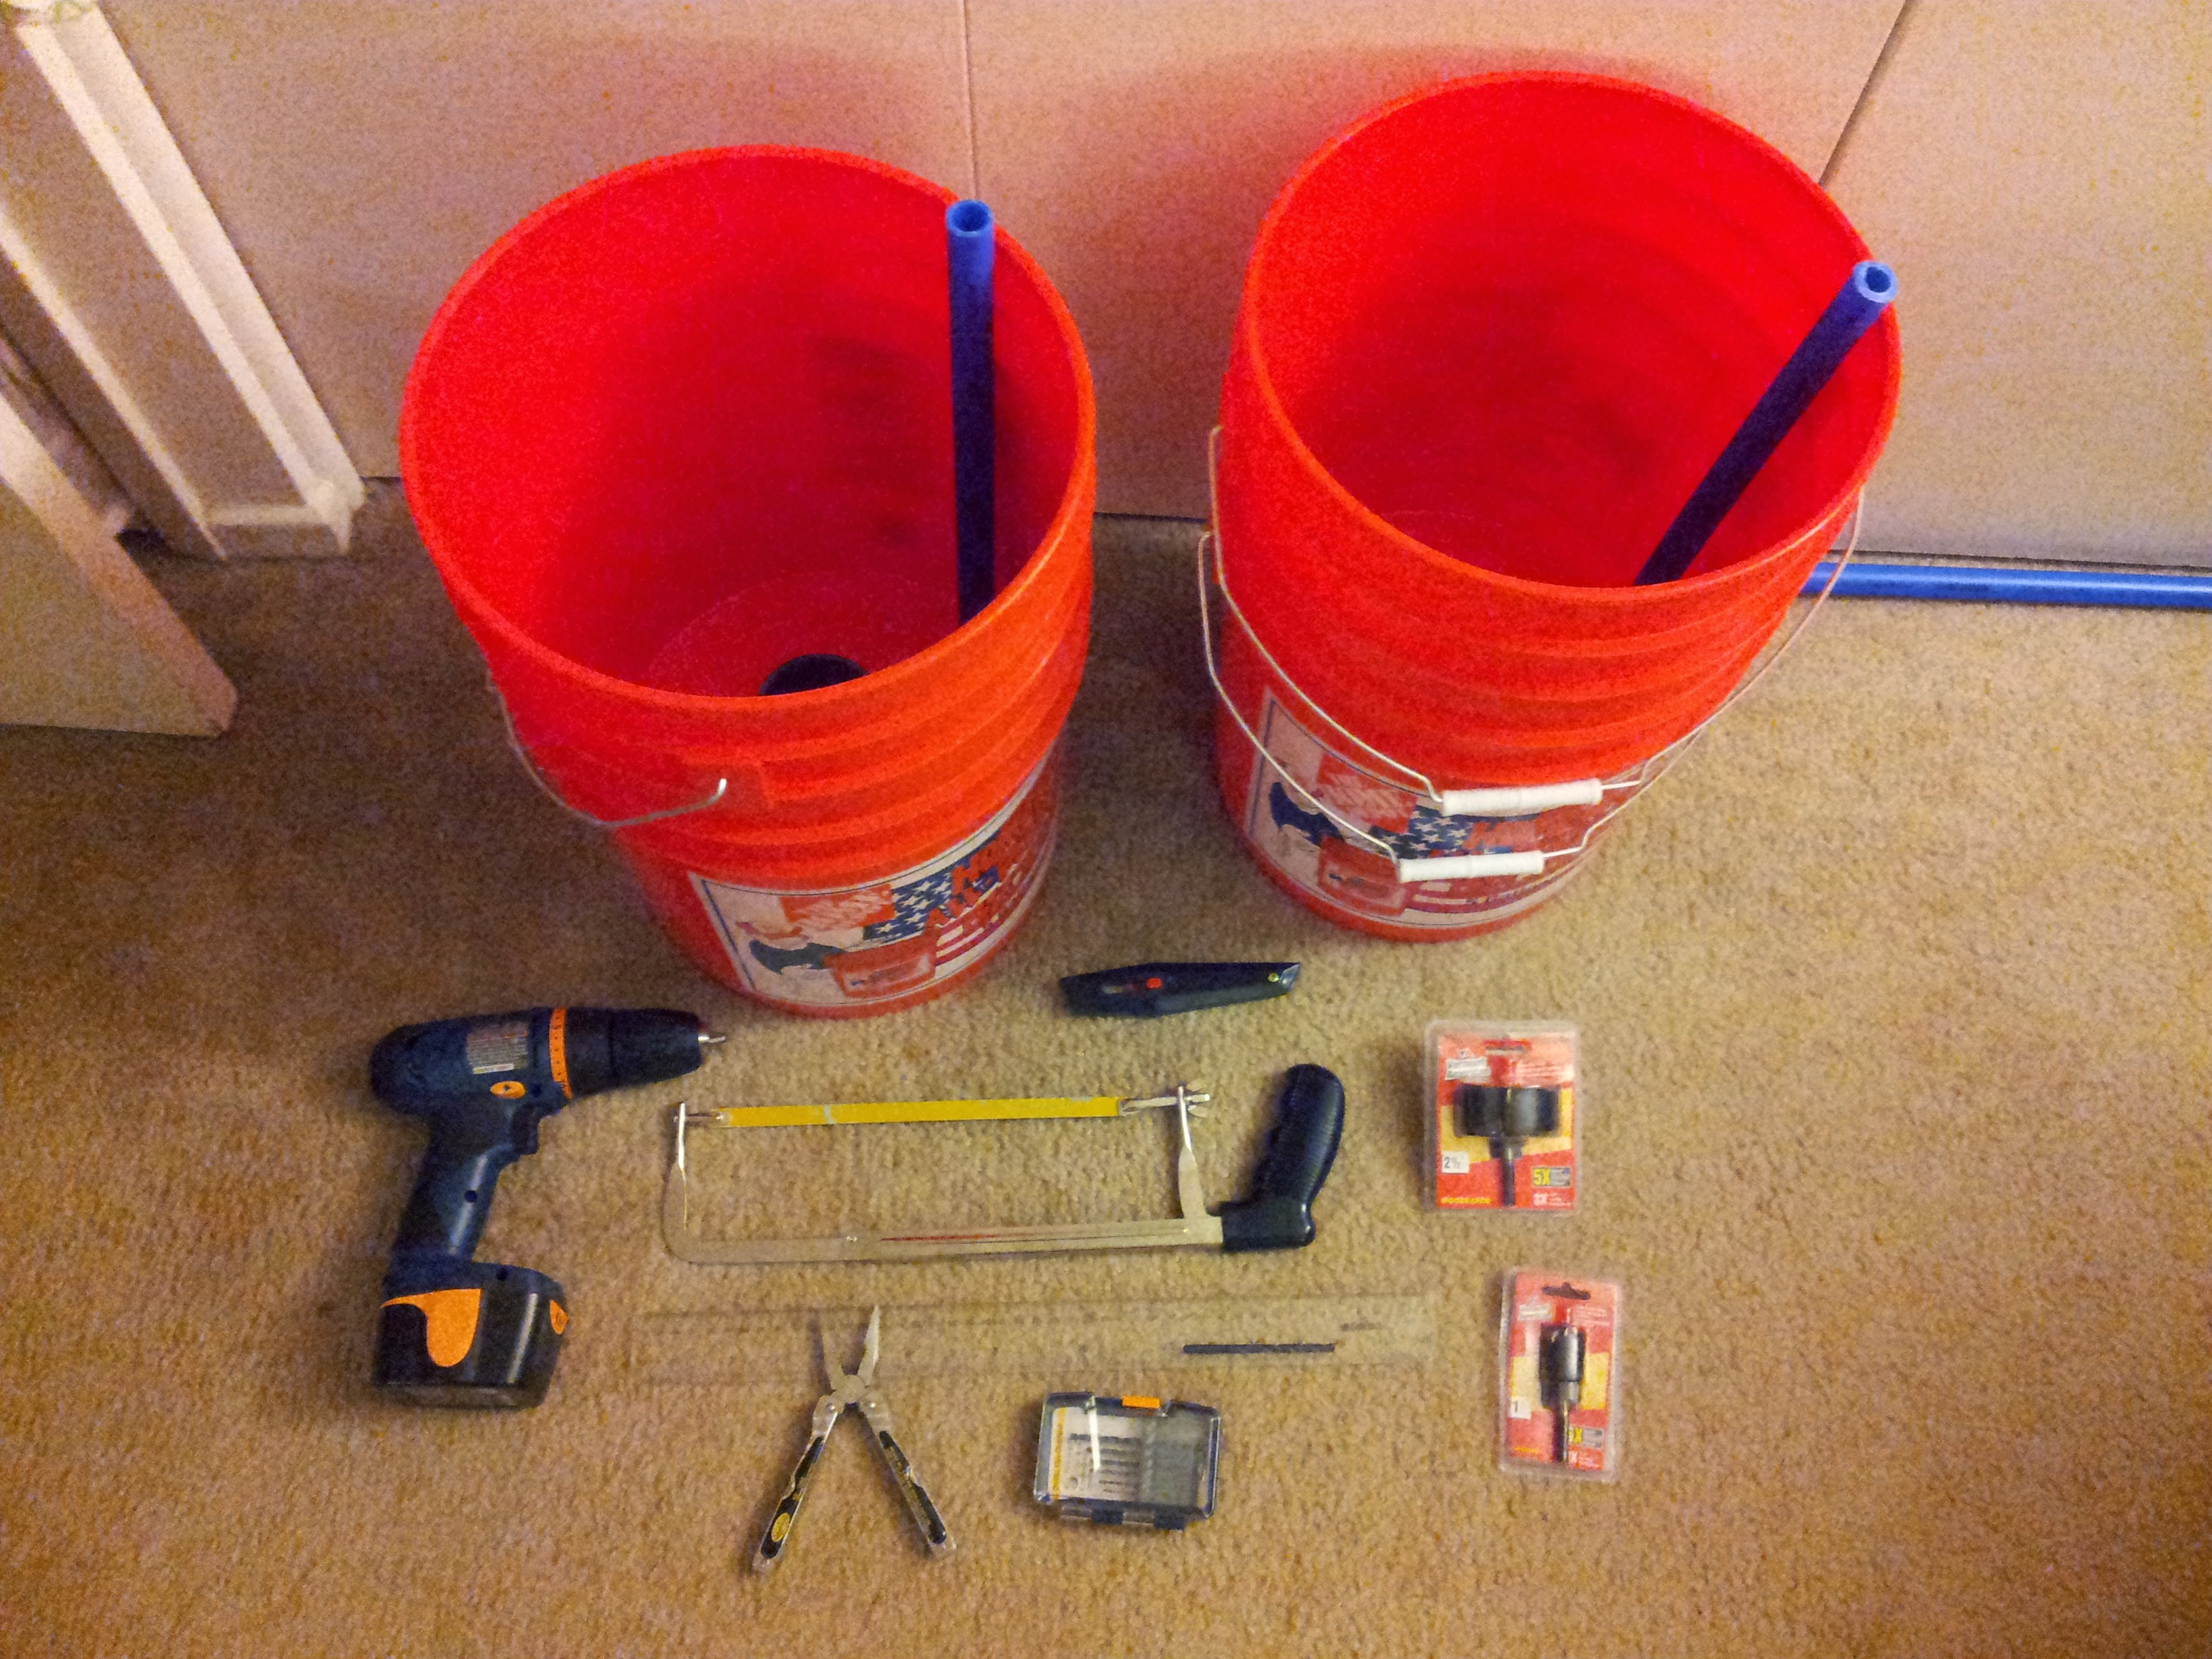 You can find the information you need to build self-watering bucket containers by visiting our page “How to Build a Self-Watering Bucket Container,” which includes a demonstration video as well as a materials and tools list. Once you have reviewed the information on that page, you are ready to work with your concrete learner to build your containers.
It is advised that you pre-cut and drill the materials before working with your learner to assemble your containers. Have your learner watch the video of how the containers are made and even watch you from a safe distance pre-cut the materials. This will help your learner generalize from the information on the website to the activities at hand and build the connection that learning to read leads to reading to learn, research, and do.
Once you have your pre-cut materials assembled and your learner has seen the video, assemble one container with your learner’s help. Once your learner has demonstrated an understanding of which pieces go where, you can allow him/her to independently assemble the remaining containers with or without your help.
Once the containers are assembled, then you can work with your learner to fill them with soil. Because lifting heavy bags of soil and guiding the soil into the buckets from the bags without spilling can be difficult, you model and instruct your learner in teamwork out of necessity to pour soil out of large bags and into your containers together without spilling it everywhere. Be prepared to clean up any accidental spills.
Once the containers are filled with soil, you are ready to either plant seeds directly into your containers or transfer baby plants into them. Either way, assembling the self-watering bucket containers and filling them with soil in preparation for planning is a great hands-on activity that drives home the more challenging concepts through physical, concretely observable objects and actions, which is exactly the kinds of instruction that concrete learners often benefit from the most.