Name the Parts
The parts to a self-watering container are:
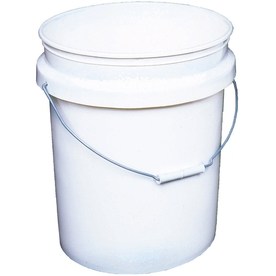
- Two 5-gallon buckets (preferably BPA-free, food safe buckets)
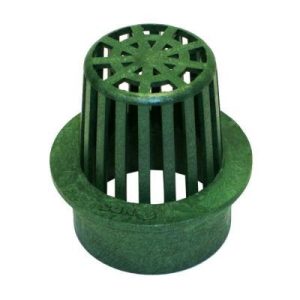
- One 3″ atrium drain
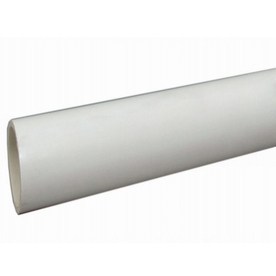
- One 20″ length of PVC pipe (preferably rated safe for drinking water)
Very young children and other preoperational learners do best with simple labels for new things. Therefore, we suggest that you teach the following terms:
The best way to teach these concepts is to have the parts cut and ready for assembly before introducing them to your learner. If you intend to build out more than one self-watering bucket container with your learner, then arrange the parts in order for an “assembly line” process that starts with putting the upper bucket into the reservoir bucket, then is followed by putting in the drain and pipe.
Begin by showing the parts to your learner and modeling the names, such as with, “Look at the buckets! Oooh, here’s a drain! And, look at this pipe!” Emphasize the terms being taught and use them repeatedly while working with your learner, such as with, “I’m putting two buckets together. Now I’m putting in a drain. Now I’m putting in a pipe!”
Once you have assembled the first container, proceed to assemble the second with your learner’s help. Ask your learner to hand you a bucket, a drain, and a pipe. At first, he/she may not understand, but touch each object and call it by name while directing your learner’s attention towards the object you are naming. You may need to establish eye contact first to make sure you have your learner’s attention, but move quickly because the attention span of a preoperational learner can be fleeting at best.
You can rehearse having your learner hand you different parts upon request until he/she grasps which name goes with which object.